Downlight Installation: Series vs Parallel Explained
In many projects, downlights are not connected one by one to individual drivers. Using one driver for multiple luminaires can reduce installation time, lower material costs, and make the system more efficient overall.
However, this approach also introduces limitations. If not designed correctly, it can lead to unstable performance, uneven light output, or even failure of the installation.
So before connecting multiple downlights to one driver, it is important to understand how the system behaves.
Start with the datasheet
Every correct installation begins with three simple values:
▪ Current (mA)
▪ Forward voltage (Vf)
▪ Driver type: constant current (CC) or constant voltage (CV)
At Karizma Luce, we work with constant current luminaires. This means the driver defines the current, while the voltage adapts to the total load.
This is the key reason why the connection method matters.
Series connection: when it works
For constant current downlights, a series connection is technically the correct approach.
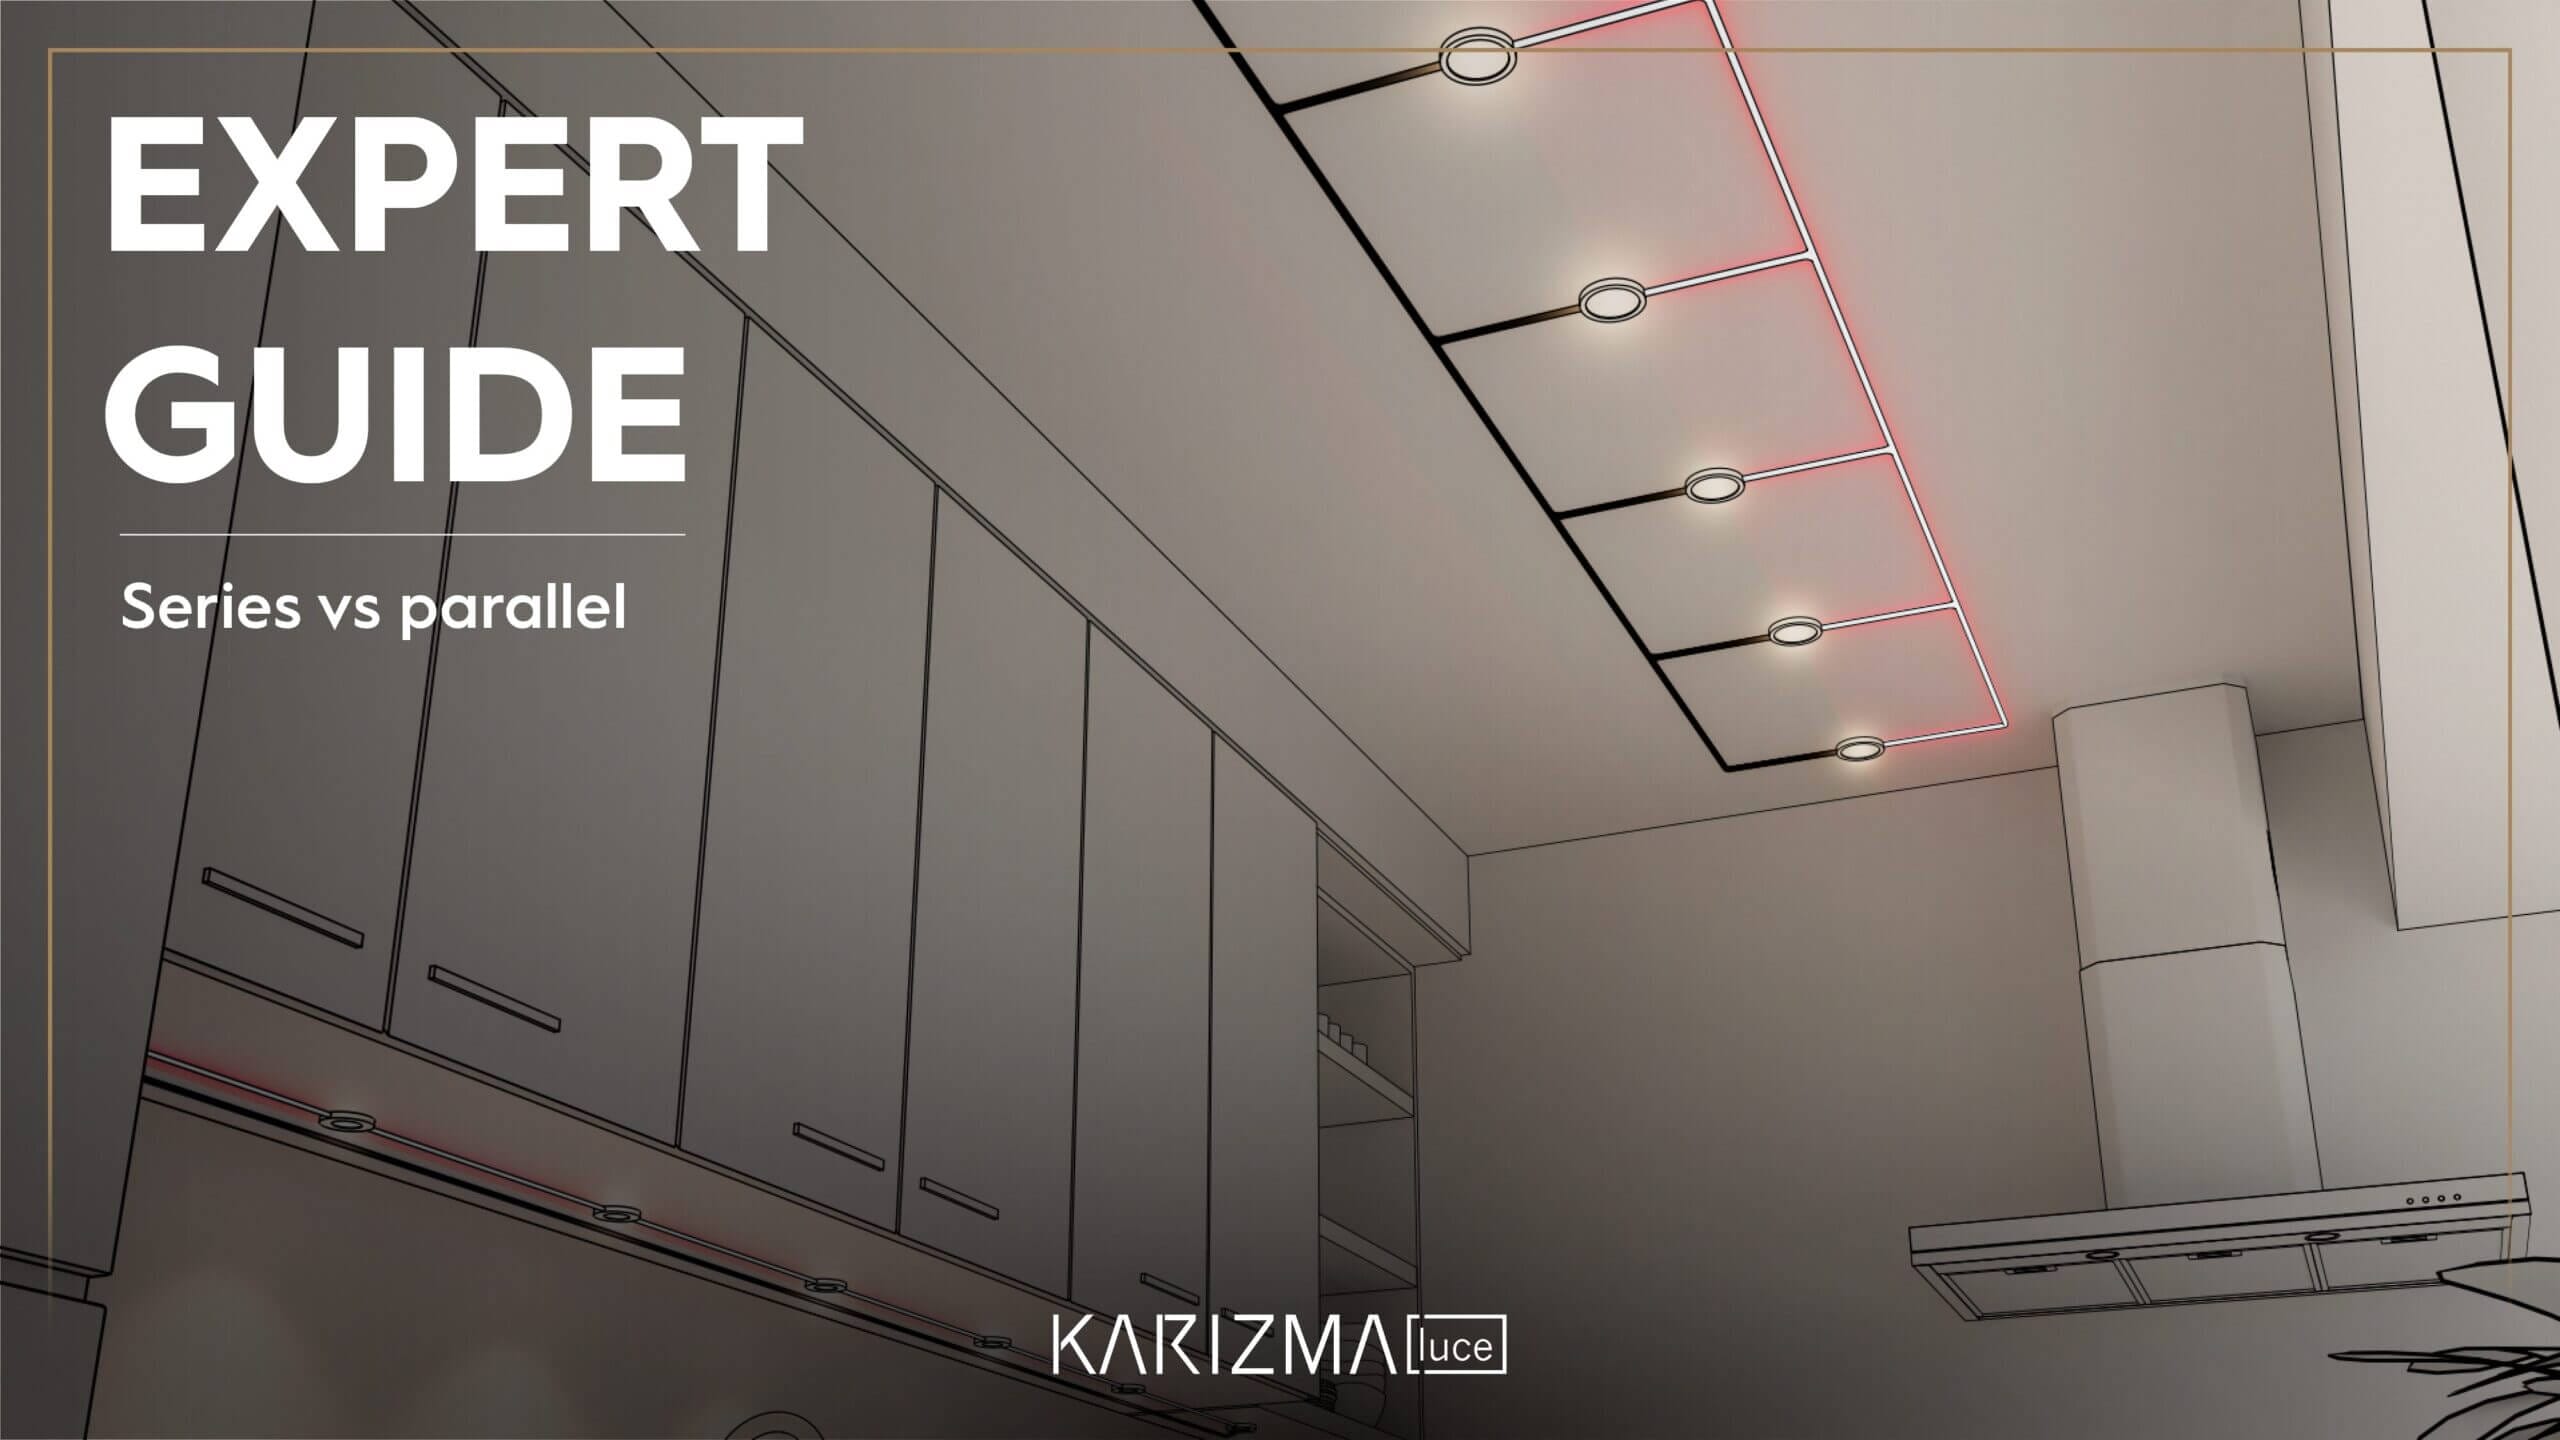
In a series connection, the current flows through each luminaire one after another. The current remains constant, while the voltage adds up across the system.
This results in stable and predictable behaviour. Each downlight receives exactly the same current, which means consistent light output.
However, there is a practical limitation.
Most installations are designed as low voltage systems (<60V DC). Once the total voltage exceeds this level, you move into high voltage territory, which requires different drivers and stricter installation conditions.
This means that series is not always possible in practice.
Parallel connection: when it becomes necessary
In a parallel connection, the voltage remains constant and the current is shared between luminaires.
This approach is typically used when the total voltage in series would exceed practical limits.
While parallel is common in constant voltage systems, it can also be applied in specific constant current setups when designed correctly.
Distance and installation quality
Electrical design is not only about the driver and the luminaires. The installation itself plays a critical role.
The distance between the driver and the luminaire should be kept as short as possible, typically around 2 metres.
Longer cable runs can cause:
⚠ Voltage drop
⚠ EMC disturbances
⚠ Unstable behaviour
Practical: how to choose the right setup
1. Check the luminaire
Example:
▪ 350mA
▪ 34V
2. Check if series is possible
Multiply the voltage:
▪ 2 × 34V = 68V
Above 60V means it is not suitable for a standard low voltage installation.
3. Decide the connection
▪ Below 60V → series possible
▪ Above 60V → parallel or different driver concept
4. Select the driver
Series:
▪ Current = luminaire current
▪ Voltage = sum of all luminaires
Parallel:
▪ Voltage = luminaire voltage
▪ Current = sum of all luminaires
Practical examples
Example 1: Small luminaires where series works well
For very low Vf luminaires like Poco at around 3V:
▪ 19 luminaires → 19 × 3V = 57V
▪ Current = 700mA (unchanged)
This stays within the low voltage range and makes series connection a very good option.
Example 2: Higher Vf luminaires where parallel becomes practical
For luminaires around 34V, such as Amata M:
▪ Series quickly exceeds 60V
▪ Parallel becomes the more practical option
Simple calculation examples
Parallel:
▪ 2 luminaires → 250mA / 34V each
▪ Total → 500mA / 34V
Driver needed: 500mA, with an output voltage range covering 34V.
Series:
▪ 2 luminaires → 500mA / 18V each
▪ Total → 500mA / 36V
Driver needed: 500mA, with 36V within its operating window.
How to connect
▪ Series → + to – in one chain
▪ Parallel → + to + (red to red), – to – (black to black)
What to remember
▪ Always start with the datasheet
▪ Current must match the driver
▪ Voltage defines how many luminaires you can connect
▪ Keep total voltage below around 60V for standard installations
▪ Keep cable distances short
Our view
Series connection is technically the foundation of constant current systems. But in real projects, voltage limits define what is possible.
Understanding this allows you to design installations that are not only correct, but also practical and reliable.